
Pandas is one of the most popular Python libraries for Data Science and Analytics. I like to say it’s the “SQL of Python.” Why? Because pandas helps you to manage two-dimensional data tables in Python. Of course, it has many more features. (E.g. lot of the popular machine learning libraries in Python are built on the top of pandas.) In this pandas tutorial series, I’ll show you the most important and most often used features of the pandas library. I’ll focus on the things that you have to know as a junior data analyst or a data scientist. This is the first episode and we will start from the basics!
Note 1: This is a hands-on tutorial, so I recommend doing the coding part with me!
Before we start
If you haven’t done so yet, I recommend going through these articles first:
- How to install Python, R, SQL and bash to practice data science
- Python for Data Science – Basics #1 – Variables and basic operations
- Python Import Statement and the Most Important Built-in Modules
- Top 5 Python Libraries and Packages for Data Scientists
To follow this pandas tutorial…
- You will need a fully functioning data server with Python3,
numpyandpandason it.
Note 1: If you don’t have one already, don’t worry: with this tutorial, you can set up your own data server and Python3, too. And with this article, you can set upnumpyandpandas, too. - Next step: log in to your server and fire up Jupyter. (We’ve installed this it the previous step, right?) Then open a new Jupyter Notebook in your favorite browser. (If you don’t know how to do that, I really do recommend going through the articles I linked in the “Before we start” section.)
Note: I’ll also rename my Jupyter Notebook topandas_tutorial_1.
- And the last step to get started: import
numpyandpandasto your Jupyter Notebook by running these two lines in a cell:
import numpy as np
import pandas as pd

pandas as pd. When you add the as pd at the end of your import statement, your Jupyter Notebook understands that from this point on every time you type pd, you are actually referring to the pandas library.Okay, now we have everything set!
Let’s start with this pandas tutorial!
The first question is:
How to open data files in pandas
You might have your data in .csv files or SQL tables. Maybe Excel files. Or .tsv files. Or something else. But the goal is the same in all cases. If you want to analyze that data using pandas, the first step will be to read it into a data structure that’s compatible with pandas.
Pandas data structures
There are two types of data structures in pandas:
- Series
- DataFrames.
Pandas Series
A pandas Series is a one-dimensional data structure (“a one-dimensional ndarray”) that can store values — and for every value, it holds a unique index, too. You can think of it as a single column of a bigger table. And it’s just enough if you know this much about Series for now, I’ll get back to it later.
Pandas DataFrame
A pandas DataFrame is a two (or more) dimensional data structure – basically a table with rows and columns. The columns have names and the rows have indexes. Compared to a pandas Series (which was one labeled column only), a DataFrame is practically the whole data table. You can think of it as a collection of pandas Series (columns next to each other).
Either way: DataFrame is the primary pandas DataStructure!
In this pandas tutorial, I’ll focus mostly on DataFrames and I’ll talk about Series in later articles. The reason is simple: most of the analytical methods I will talk about will make more sense in a 2D datatable than in a 1D array.
Loading a .csv file into a pandas DataFrame
Okay, time to put things into practice! Let’s load a .csv data file into pandas!
There is a function for it, called read_csv().
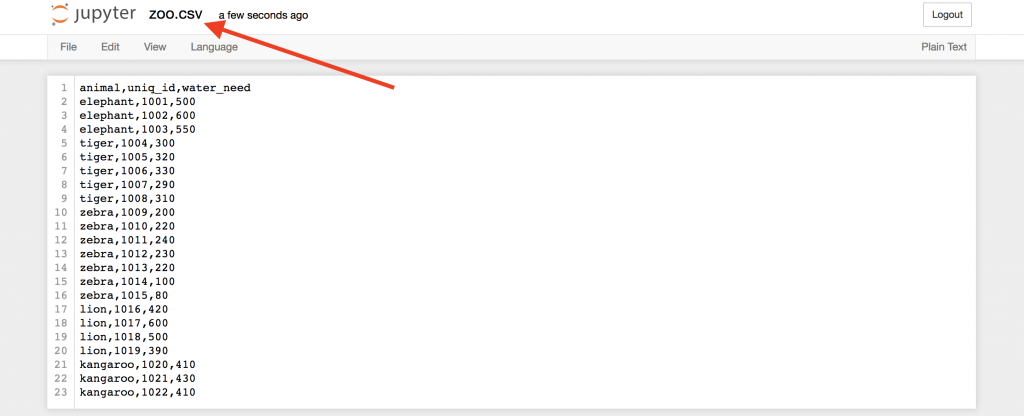
Start with a simple demo data set, called zoo! This time – for the sake of practicing – you will create a .csv file for yourself! Here’s the raw data:
animal,uniq_id,water_need
elephant,1001,500
elephant,1002,600
elephant,1003,550
tiger,1004,300
tiger,1005,320
tiger,1006,330
tiger,1007,290
tiger,1008,310
zebra,1009,200
zebra,1010,220
zebra,1011,240
zebra,1012,230
zebra,1013,220
zebra,1014,100
zebra,1015,80
lion,1016,420
lion,1017,600
lion,1018,500
lion,1019,390
kangaroo,1020,410
kangaroo,1021,430
kangaroo,1022,410
Go back to your Jupyter Home tab and create a new text file…

…then copy-paste the above zoo data into this text file…
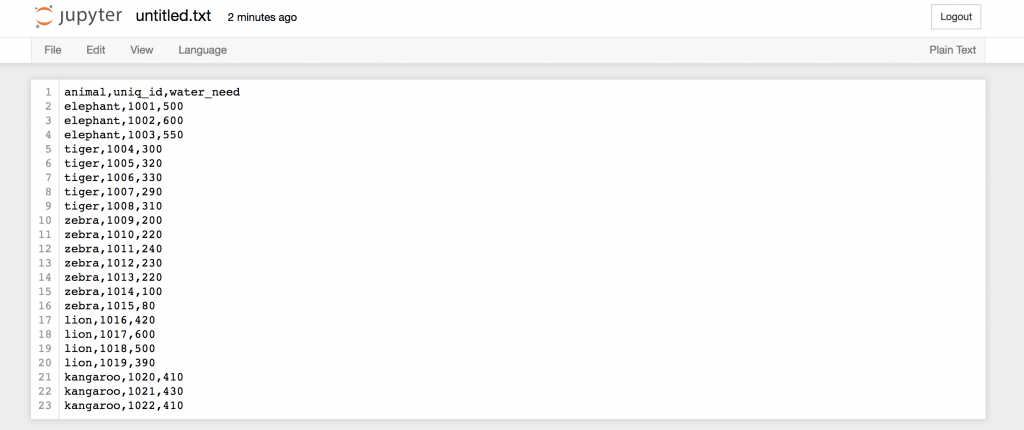
… and then rename this text file to zoo.csv!
Okay, this is our .csv file!
Now, go back to your Jupyter Notebook (that I named pandas_tutorial_1) and open this freshly created .csv file in it!
Again, the function that you have to use for that is read_csv()
Type this to a new cell:
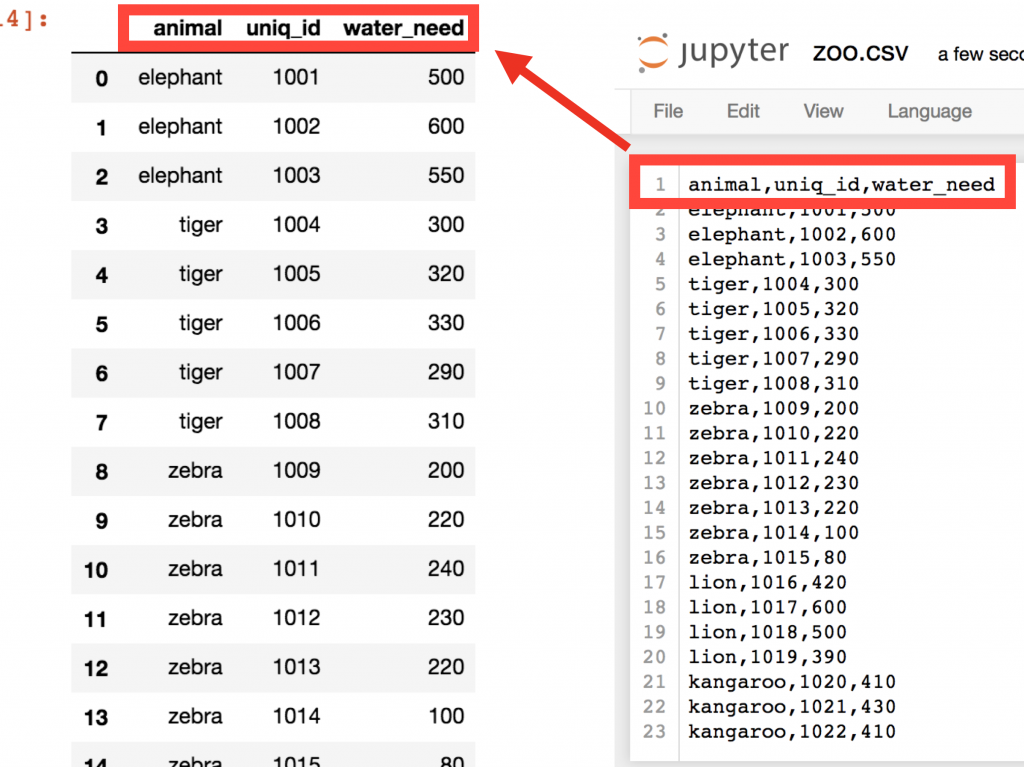
pd.read_csv('zoo.csv', delimiter = ',')
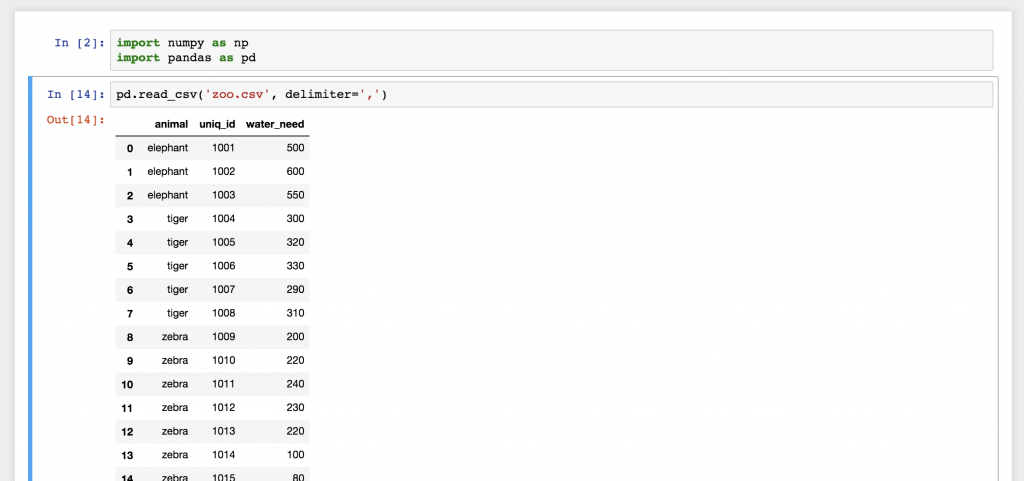
And there you go! This is the zoo.csv data file brought to pandas! Isn’t this a nice 2D table? Well, actually this is a pandas DataFrame! The numbers in front of each row are called indexes. And the column names on the top are picked up automatically from the first row of our zoo.csv file.
Well, in real life, you will probably never create a .csv data file for yourself, as we just did, here. You know this is a pandas tutorial — but in real life, you will work with already existing data files that you’ll probably get from the data engineers you’ll work with. The point is that you have to learn one more thing here: how to download .csv files to your server.
If you are here from the Junior Data Scientist’s First Month video course, then you have already dealt with downloading your .txt or .csv data files to your data server, so you must be pretty proficient in it… But if you are not here from the course (or if you want to learn another way to download a .csv file to your server and to get another exciting dataset), follow these steps:
Step #0 – The data file we’ll use in this pandas tutorial
I’ve uploaded a small sample dataset for you, here: DATASET
(Direct link — copy-paste this to your browser’s bar if clicking the link above doesn’t work: 46.101.230.157/dilan/pandas_tutorial_read.csv)
If you click the link, the data file will be downloaded to your computer. But you don’t want to download this data file to your computer, right? You want to download it to your server and then load it to your Jupyter Notebook. It only takes two more steps.
STEP #1 – Download it to the server!
Go back to your Jupyter Notebook and type this command:
!wget 46.101.230.157/dilan/pandas_tutorial_read.csv
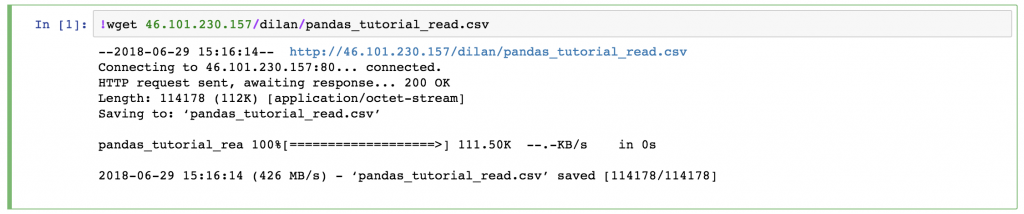
This downloaded the pandas_tutorial_read.csv file to your server. Just check it out:
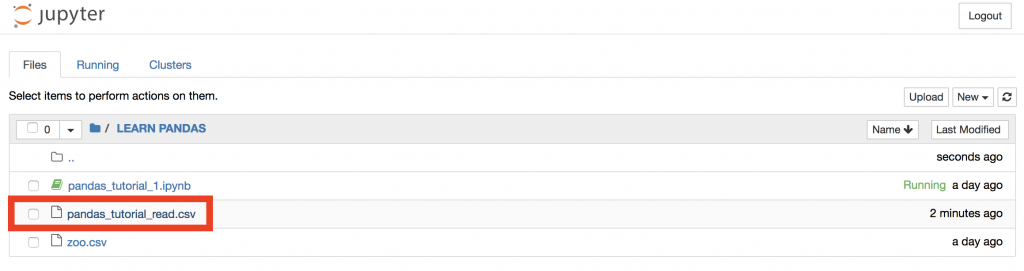
See? It’s there.
If you click it…
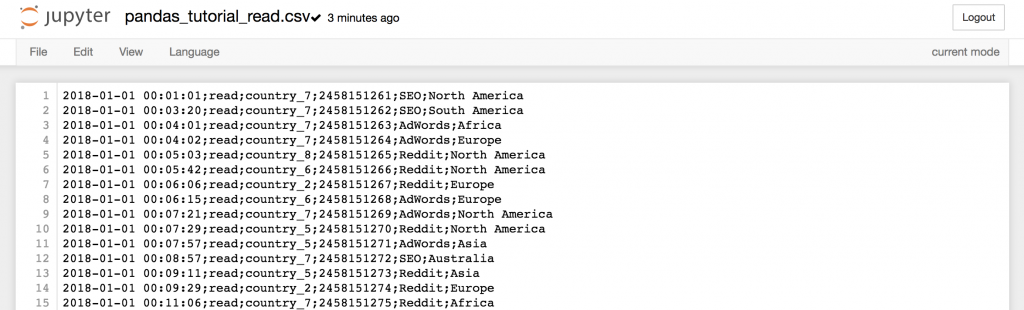
…you can even check out the data in it.
STEP #2 – loading the .csv file with .read_csv into a DataFrame
Now, go back again to your Jupyter Notebook and use the same .read_csv() function that we have used before (but don’t forget to change the file name and the delimiter value):
pd.read_csv('pandas_tutorial_read.csv', delimiter=';')
Done! The data is loaded into a pandas DataFrame:
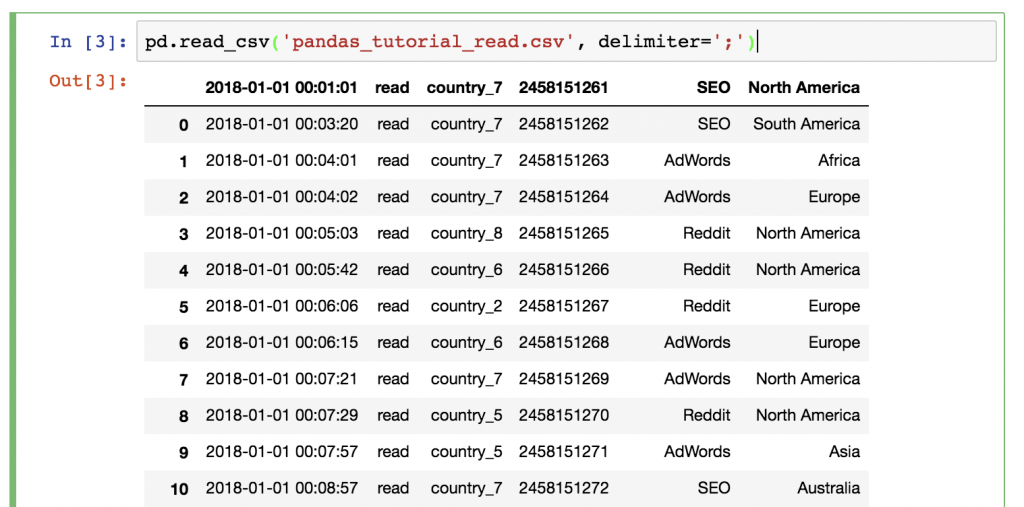
Does something feel off? Yes, this time we didn’t have a header in our .csv file, so we have to define it manually! Add the names parameter to your .read_csv() function:
pd.read_csv('pandas_tutorial_read.csv', delimiter=';', names = ['my_datetime', 'event', 'country', 'user_id', 'source', 'topic'])
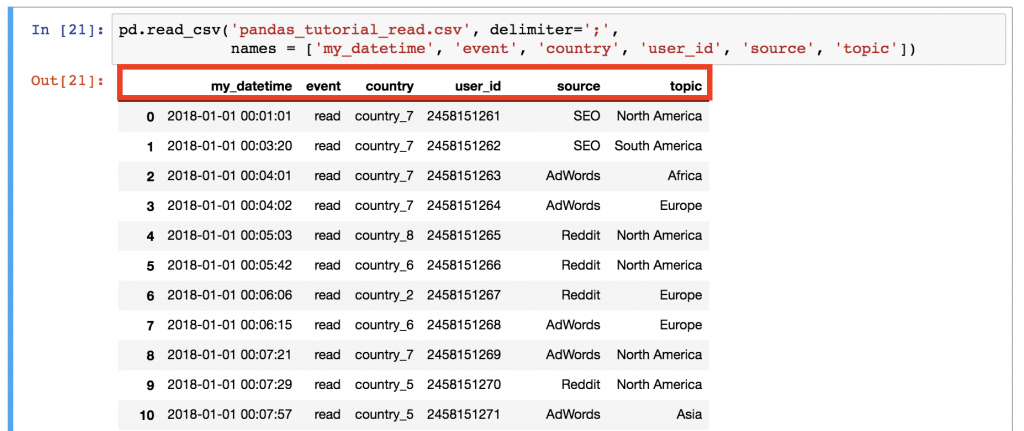
Better!
And with that, we finally loaded our .csv data into a pandas DataFrame!
Note 1: Just so you know, there is an alternative method. (I don’t prefer it though.) You can load the .csv data using the URL directly. In this case, the data won’t be downloaded to your data server.
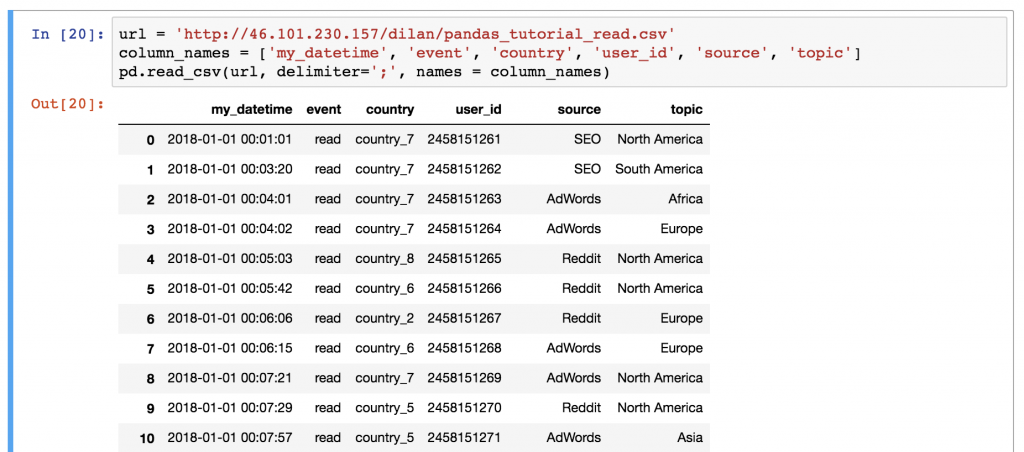
Note 2: If you are wondering what’s in this data set – this is the data log of a travel blog. This is a log of one day only (if you are a JDS course participant, you will get much more of this data set on the last week of the course ;-)). I guess the names of the columns are fairly self-explanatory.
Selecting data from a DataFrame in pandas
This is the first episode of this pandas tutorial series, so let’s start with a few very basic data selection methods – and in the next episodes we will go deeper!
#1 How to print the whole DataFrame
The most basic method you can do in pandas is to just simply print your whole DataFrame to your screen. Nothing special.
Although it’s good to get a grasp on a concept right here at the beginning:
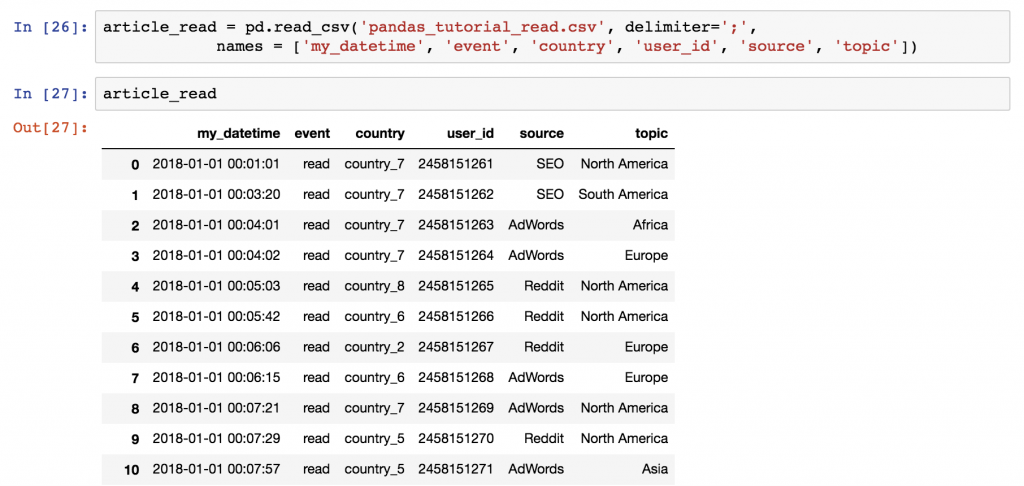
To work with a specific dataset, you don’t have to run the pd.read_csv() function again and again and again. You can just store its output into a variable the first time you run it! E.g:
article_read = pd.read_csv('pandas_tutorial_read.csv', delimiter=';', names = ['my_datetime', 'event', 'country', 'user_id', 'source', 'topic'])
After that, you can call this article_read variable anytime to print your DataFrame!
Note: I know… If you have used Python before, this is nothing new. But if you are here with an SQL background, it’s better to get used to store your stuff in variables when working in Python environments. 😉
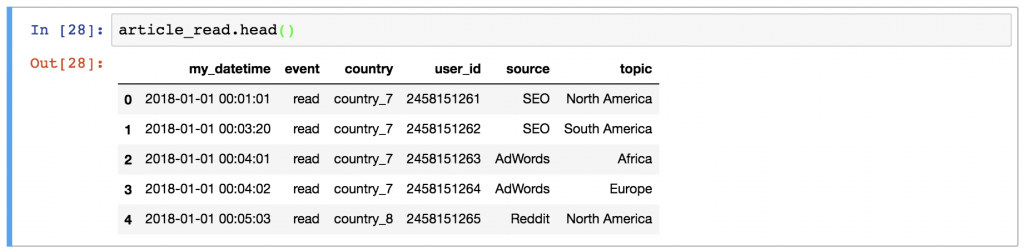
#2 How to print a sample of your dataframe (e.g. first 5 rows)
Sometimes, it’s handy not to print the whole dataframe and flood your screen with data. When a few rows are enough, you can print only the first 5 rows – by typing:
article_read.head()
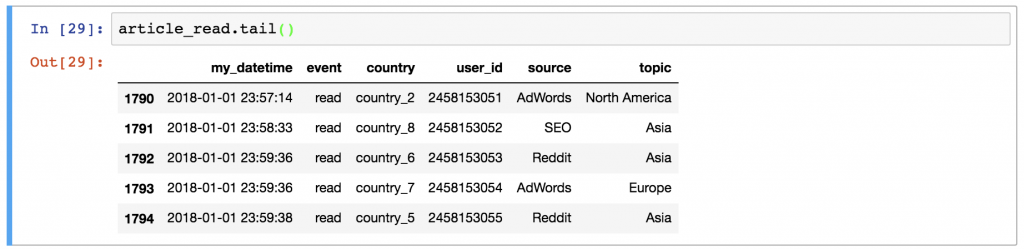
Or the last few rows by typing:
article_read.tail()
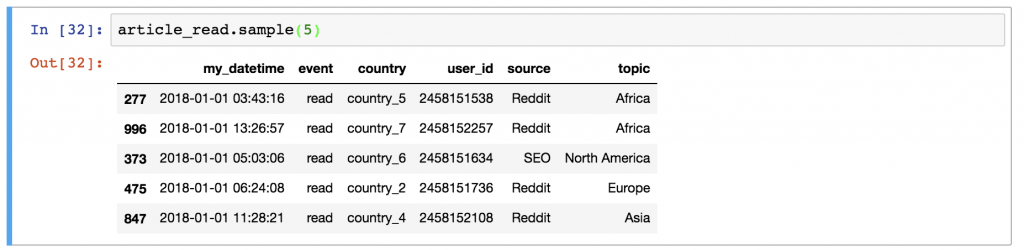
Or a few random rows by typing:
article_read.sample(5)
#3 How to select specific columns of your DataFrame
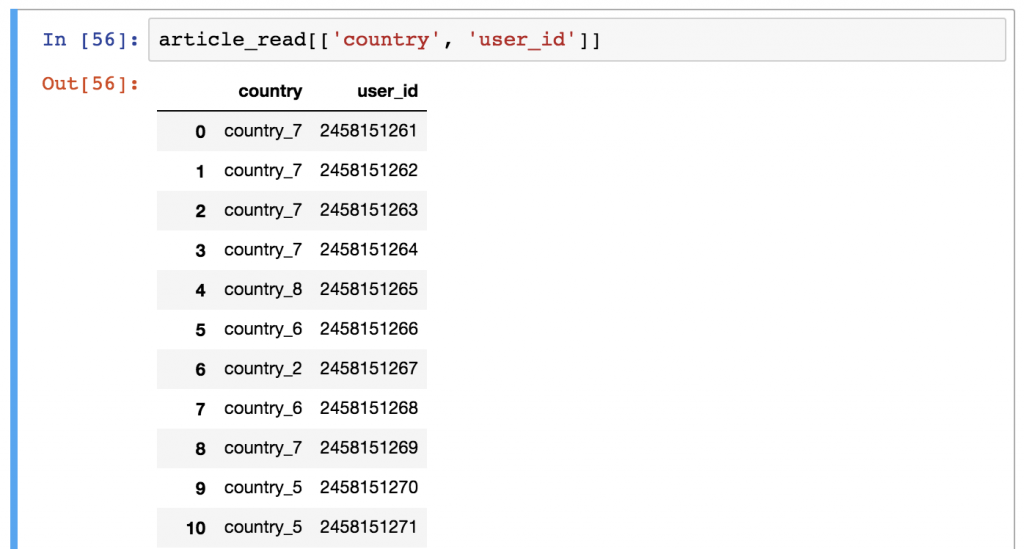
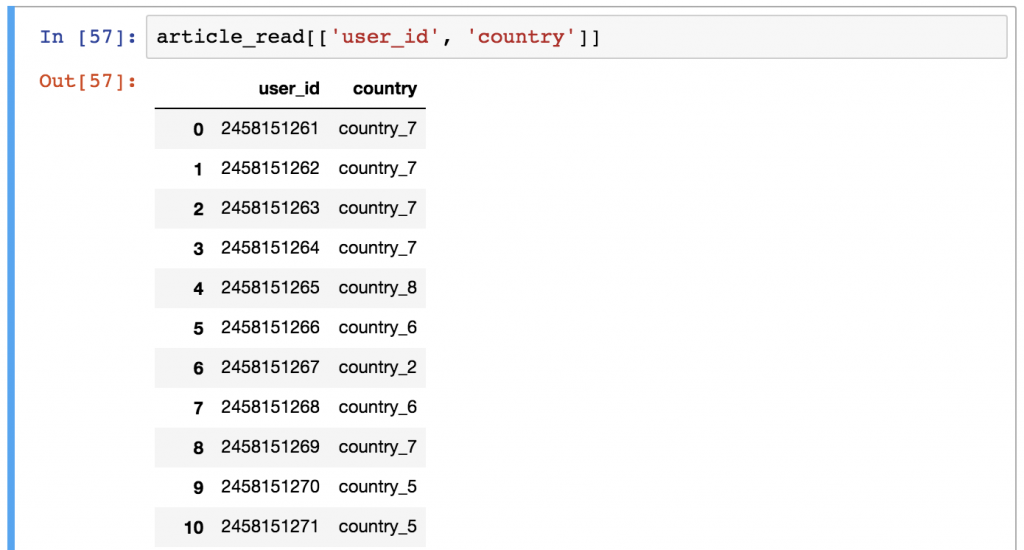
This one is a bit tricky — but very often used, so better learn it now! Let’s say you want to print the country and the user_id columns only.
You should use this syntax:
article_read[['country', 'user_id']]
Any guesses why we have to use double bracket frames? It seems a bit over-complicated, I admit, but here’s a thing that will help you remember. The outer bracket frames tell pandas that you want to select columns — and the inner brackets are for the list of the column names. (Remember? Python lists always go between bracket frames.)
By the way, if you change the order of the column names, the order of the returned columns will change, too:
article_read[['user_id', 'country']]
You’ll get the DataFrame of your selected columns.
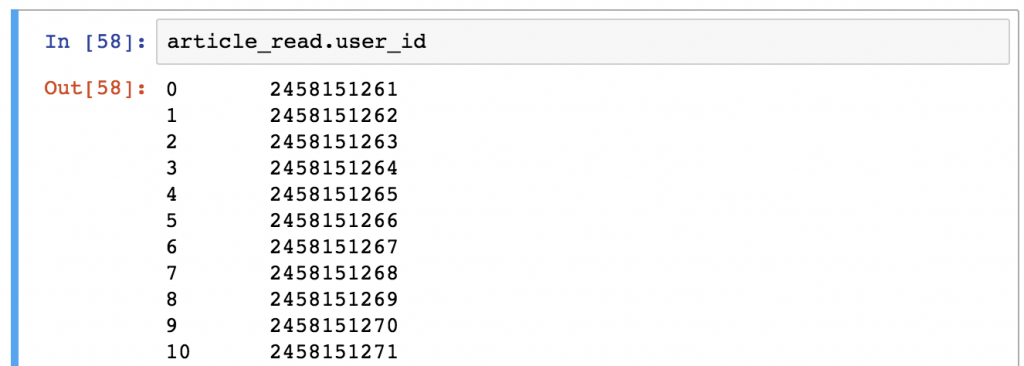
Note: Sometimes (especially in machine learning projects), you want to get Series objects instead of DataFrames. You can get a pandas Series using any of these two syntaxes (and selecting only one column):
article_read.user_idarticle_read['user_id']
#4 How to filter for specific values in your DataFrame
If the previous column selection method was a bit tricky, this one will feel really tricky! (But again, you’ll have to use this a lot, so learn it now!)
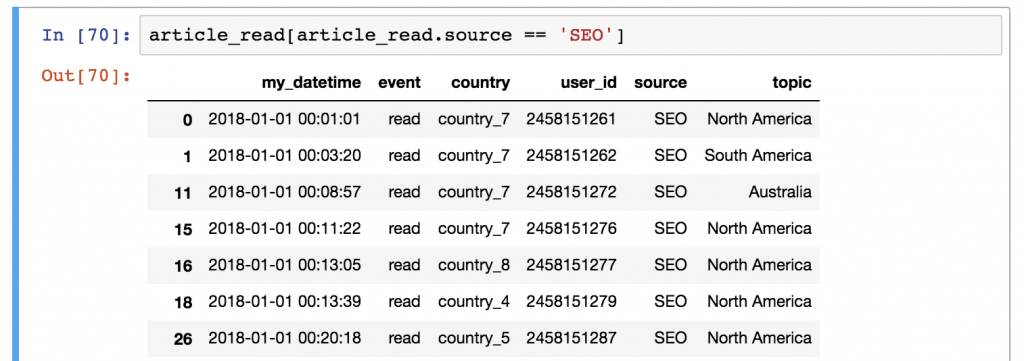
Let’s say, you want to see a list of only the users who came from the SEO source. In this case, you have to filter for the 'SEO' value in the source column. This is how you do it in pandas:
article_read[article_read.source == 'SEO']
It’s worth it to understand how pandas thinks about data filtering:
STEP 1) First, it runs the syntax between the bracket frames: article_read.source == 'SEO'
This evaluates each and every row of your DataFrame: is the article_read.source column’s value 'SEO' or not? The results are boolean values (True or False).
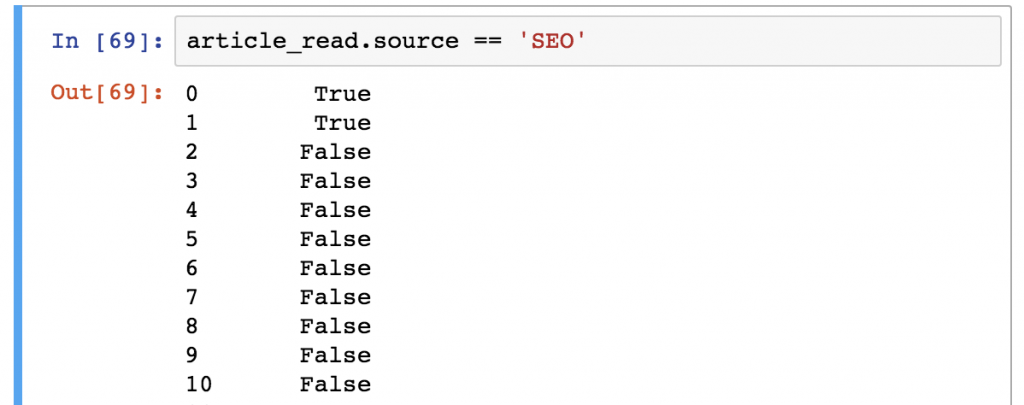
STEP 2) Then from the article_read table, it selects and prints every row where this value is True and it doesn’t print any row where the value is False.
Feels twisted? Maybe. But this is the way it is, so let’s just learn it because you will use this a lot! 😉 (Later on, you’ll start to appreciate the pragmatic logic of pandas, I promise.)
Pandas functions can be used after each other!
It’s very important to understand that pandas’ logic is very linear (compared to SQL, for instance).
The best part of this linear logic is that if you apply a function, you can always apply another one to the result of it. In this case, the input of the latter function will always be the output of the previous function.
Here’s an example to help you understand this.
Let’s combine these two selection methods:
article_read.head()[['country', 'user_id']]
This code snippet does two things:
- the
.head()part first selects the first 5 rows of our data set - and then the
[['country', 'user_id']]part takes only thecountryand theuser_idcolumns for this first 5 rows.
Could you get the same result with a different chain of functions? Of course, you can:
article_read[['country', 'user_id']].head()
In this version, you select the columns first, then take the first five rows. The result is the same – the order of the functions (and the execution) is different.
One more thing. What happens if you replace the ‘article_read’ value with the original read_csv() function:
pd.read_csv('pandas_tutorial_read.csv', delimiter=';', names = ['my_datetime', 'event', 'country', 'user_id', 'source', 'topic'])[['country', 'user_id']].head()
This will work, too – only it’s ugly (and inefficient). But it’s really important that you understand that working with pandas is nothing but applying the right functions and methods, one by one.
Pandas tutorial challenge: Test yourself!
As always, here’s a short assignment to test what you’ve learned from this pandas tutorial!
Solve it, so the content of this article can sink in better!
Here’s your task:
Select the user_id, the country and the topic columns for the users who are from country_2! Print the first five rows only!
Okay, go ahead and solve it!
.
.
.
And here’s my solution!
It can be a one-liner:
article_read[article_read.country == 'country_2'][['user_id','topic', 'country']].head()
Or, to be more transparent, you can break this into more lines:
ar_filtered = article_read[article_read.country == 'country_2']
ar_filtered_cols = ar_filtered[['user_id','topic', 'country']]
ar_filtered_cols.head()
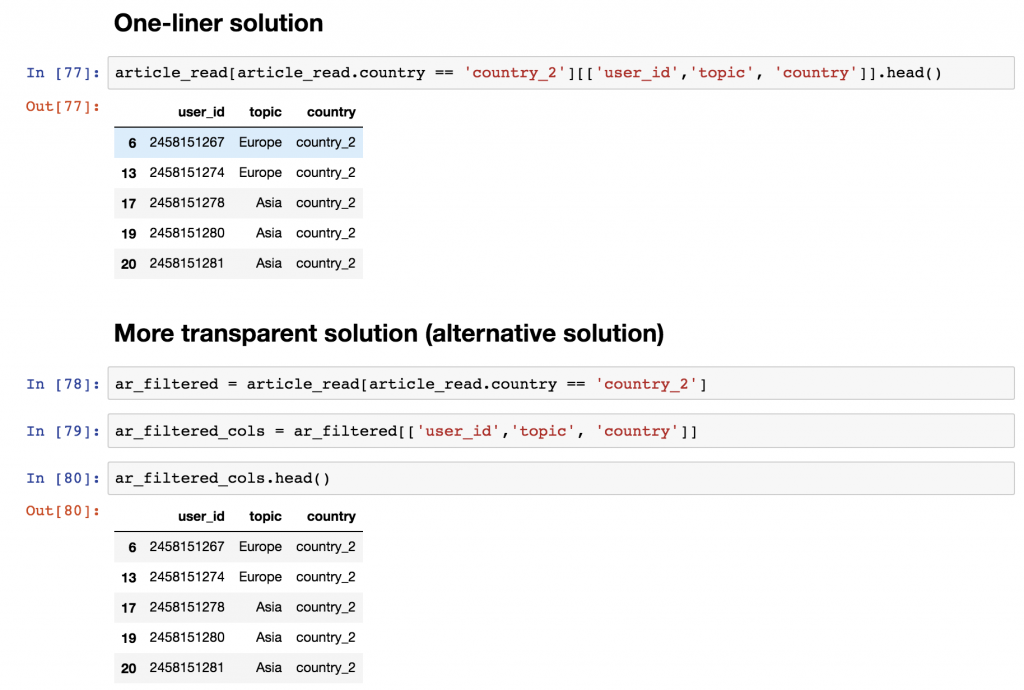
Either way, the logic is the same.
- first, you take your original dataframe (
article_read), - then you filter for the rows where the
countryvalue iscountry_2([article_read.country == 'country_2']), - then you take the three columns that were required (
[['user_id','topic', 'country']]) - and eventually, you take the first five rows only (
.head()).
Conclusion of Pandas Tutorial ep#1
You are done with the first episode of my pandas tutorial series! Great job! In the next article, you’ll learn more about the different aggregation methods (e.g. sum, mean, max, min) and about grouping… so basically about segmentation. Keep up the good job and continue here: Pandas Tutorial, Episode 2!
- If you want to learn more about how to become a data scientist, take my 50-minute video course: How to Become a Data Scientist. (It’s free!)
- Also check out my 6-week online course: The Junior Data Scientist’s First Month video course.
Cheers,
Tomi Mester
Cheers,
Tomi Mester