
Working with SQL for data analysis sometimes requires creating new tables. Do you want to store the output of your SQL queries? Do you need to pull new data sources (eg. csv files) into your analyses? Do you want to store your transformed and cleaned data without deleting your original data sets? First, you have to know how to create new tables in SQL!
In this article I’ll show you the CREATE TABLE SQL statement, the syntax, and the different column parameters that you have to set. And at the end of the article, you can immediately continue to the next article where you can learn how to import data into these SQL tables.
Note: This is going to be a practical tutorial, so I encourage you to do the coding part with me.
Note 2: If you are new here, let’s start with these SQL articles first:
- How to install Python, SQL, R and Bash (for non-devs)
- SQL for Data Analysis – Tutorial for Beginners – ep1
- How to install SQL Workbench for postgreSQL
Data Types in SQL
Before we dig deeper into how to create new tables, we have to talk about a conceptual element of SQL: the different data types.
Let’s see what sorts of data we can put into an SQL table!
Note: in the current version of PostgreSQL there are more than 40 different data types. Here, I’ll introduce only the seven most important ones.
- Integer. A whole number without a fractional part. Eg.
1,156,2012412 - Decimal. A number with a fractional part. Eg.
3.14,3.141592654,961.1241250 - Boolean. A binary value. It can be either
TRUEorFALSE. - Date. Speaks for itself. You can also choose the format. Eg.
2017-12-31 - Time. You can decide the format of this, as well. Eg.
23:59:59 - Timestamp. The date and the time together. Eg.
2017-12-31 23:59:59 - Text. This is the most general data type. But it can be alphabetical letters only, or a mix of letters and numbers and any other characters. Eg.
hello,R2D2,Tomi,124.56.128.41
Why is this so important?
Because when you create a new SQL table, you have to define which data type you will have in each column. And once it’s defined, you have to stick with it. For instance, if you set a new column with an Integer data type, you won’t be able to include text or dates or anything else. This means that you should be conscious about data types and also design your data tables (and databases) before you actually create them!
The CREATE TABLE statement
You can create a new table by using the CREATE TABLE SQL statement. This is how it looks:
CREATE TABLE new_table_name
(
  first_column    first_column_data_type,
  second_column   second_column_data_type,
  third_column    third_column_data_type,
…
  last_column     last_column_data_type
);
CREATE TABLE is the SQL keyword. You should always have it at the beginning of your SQL statement.
Next, the new_table_name will be the name of your freshly created table. It can be whatever you prefer. I recommend coming up with a simple and meaningful name. I also suggest using lowercase. (It doesn’t really matter though; our current postgreSQL setup is not case-sensitive for table names. But I think it’s nicer and more transparent that way.)
The first_column, second_column, last_column, etc. will be the names of the new columns in the new table. The same applies to them as to the new_table_name: simple and meaningful names in lowercase are the best.
And here comes the trick – or at least the unusual thing – for every column, you have to specify the data type. As you see, after the first_column there is a first_column_data_type. This could be Text, for instance. But if you wanted to fill it with numbers and perform mathematical calculations on them in the future, you should choose numeric data types (eg. Integer or Decimal) instead. Or if you wanted to use datetime functions you should use date/time data types (eg. Date, Time or Timestamp).
All these will become much clearer through an example.
Create a new table in SQL using SQL Workbench (or pgadmin4)!
Let’s get back to practice!
I assume that you have already gone through the Install Python, R, SQL and Bash article and that you have downloaded and set up either SQL Workbench or pgamdin4. Let’s open either of the two!
Note: I’ll work with SQL Workbench here because that’s my favorite SQL manager. Feel free to use your favorite: the process will be the exact same for every tool.
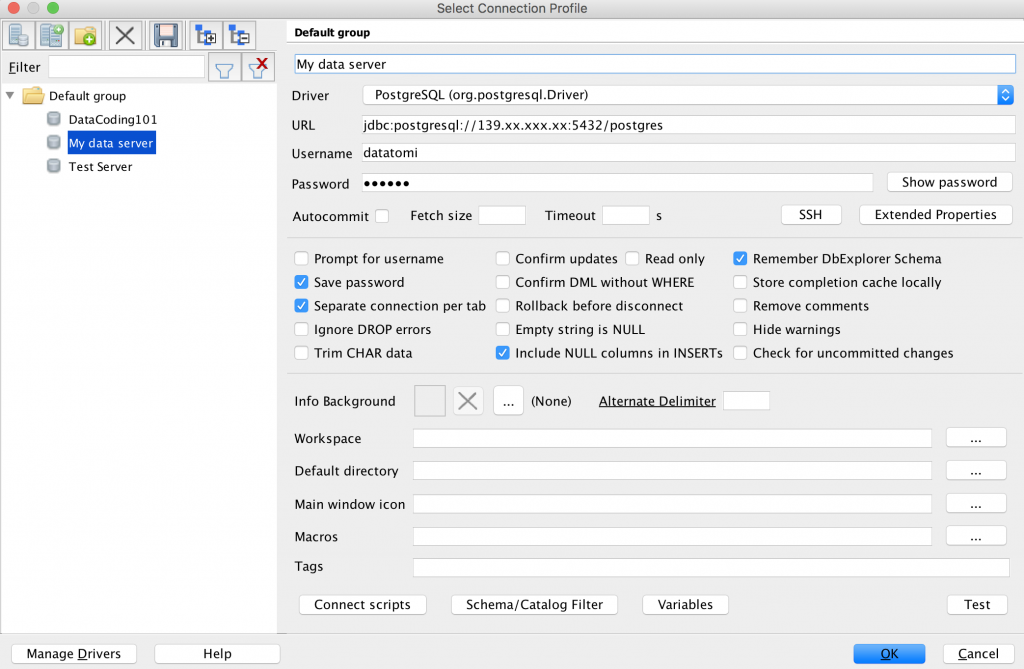
Establish the connection to your data server!
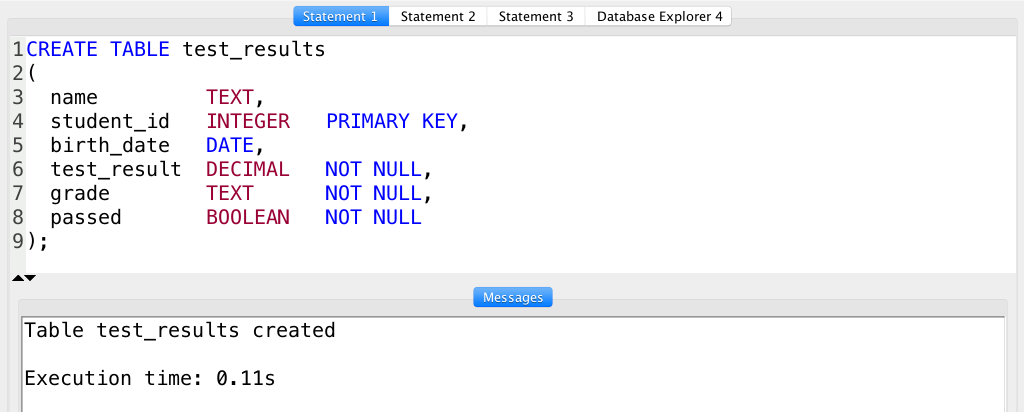
Now, create a new table using the CREATE TABLE syntax we learned above — replacing the placeholders with real values! I’ll create a table for storing the imaginary chemistry test results of an imaginary class.
CREATE TABLE test_results
(
  name         TEXT,
  student_id   INTEGER,
  birth_date   DATE,
  test_result  DECIMAL,
  grade        TEXT,
  passed       BOOLEAN
);

In this table, I created six columns with five different data types (text, date, decimal, boolean and integer). If I query this new table, I’ll get an empty table. But at least I can see the column headers, so I know that my table has been created! Great success!
Don’t forget to commit your changes!
One more important thing before we finish!
Sometimes, when you create a new table in an SQL query tool (like pgadmin4 or SQL Workbench), you have to publish the changes you made in the tool to your data server. In programming this is often referred as “committing your changes”.
Note: Don’t worry, “publishing” in this case means that you make your changes visible for other users on your server and, of course, it does not mean that it will be available for everyone on the internet. 🙂
I wrote “sometimes” because in most SQL manager tools, there is an auto-commit function, too. You can check whether yours is on or off!
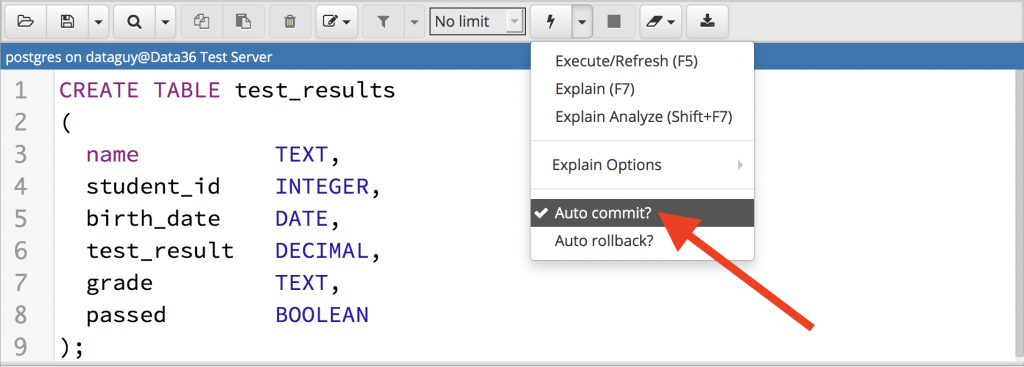
In pgadmin, when you are in query mode, you should click the little drop-down button next to your Execute button.
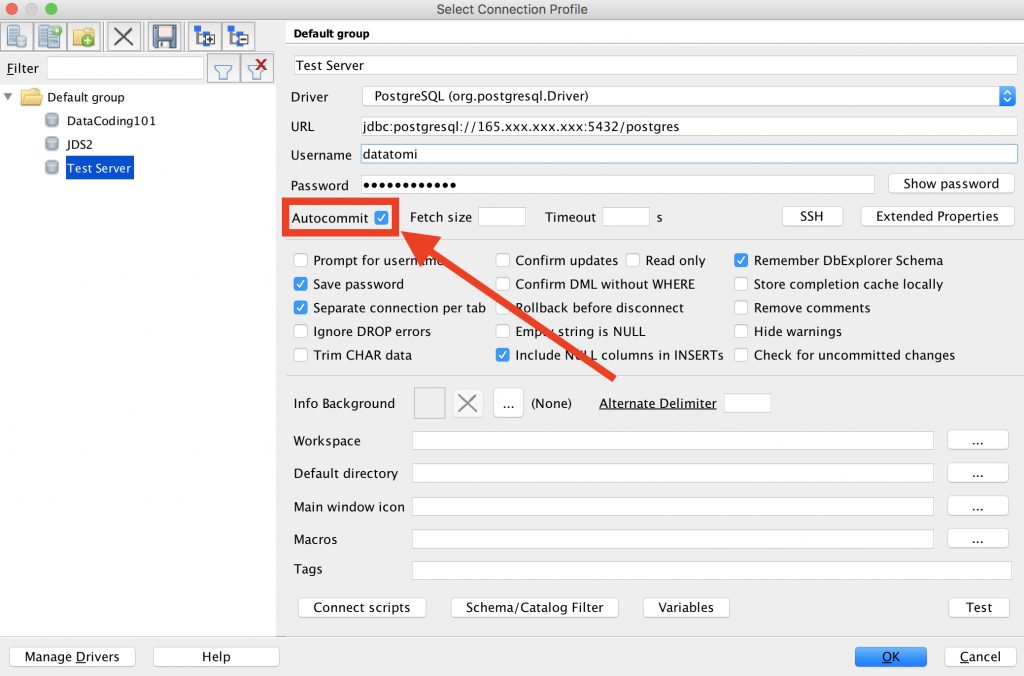
In SQL Workbench, you can set this before you connect to your data server.
If auto-commit is ON, you are good, your changes are automatically published to your server. If it’s OFF, just type to your tool:
COMMIT;
Then run it… and your changes are committed to the server!
Done! Your table is created and the changes happened on your data server, too!
Note: if your changes are not commited, they will be lost after you close your connection in your SQL tool. That means that next time you open it, everything you have created will be gone. I’ve made this mistake a few times before and believe me, it’s very unpleasant. So watch out for commiting! 🙂
About the syntax
Syntax, syntax, syntax! In my SQL course, I see that people have a hard time with the syntax of CREATE TABLE, so here’s a one-picture recap about how to do it right:
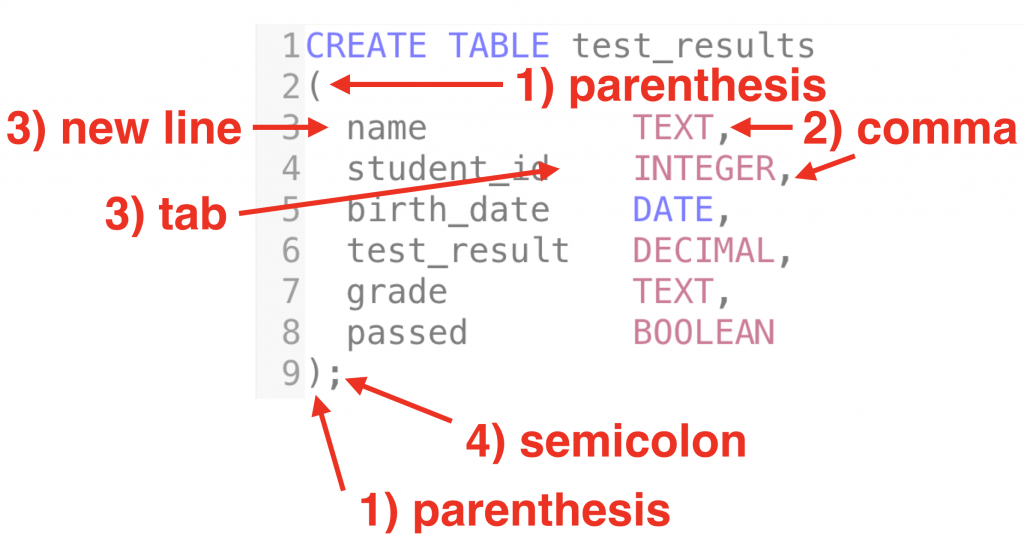
- After the
CREATE TABLE new_table_name, the column information goes between parentheses. - The different columns have to be separated with commas.
- I personally recommend using line breaks between columns, and tabs between the column names and the data types. Remember, indentations and line breaks do not affect the execution of the SQL statement, only make it easier to read.
- Don’t forget the semicolon from the end of the SQL statement!
If you want to go through the general SQL syntax best practices, check this article!
How to delete tables in SQL?
Deleting a table is even simpler than creating one.
It’s this:
DROP TABLE table_name;
This will remove the whole table with all the data in it. So be very careful with this one…
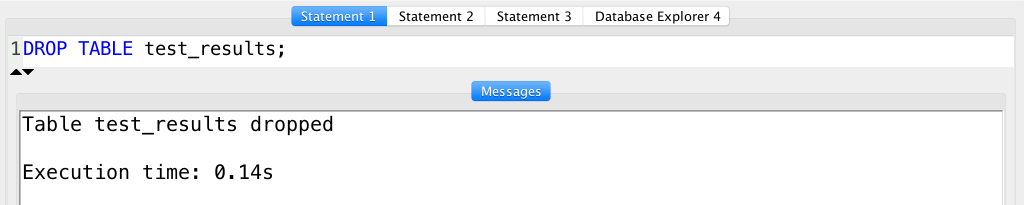
On our example this would be:
DROP TABLE test_results;
One more thing! If you drop a table, you have to commit these changes, too. (Either turn on auto-commit or use the COMMIT statement after DROP TABLE.)
Note: more about deleting an SQL table here: SQL TRUNCATE TABLE and DROP TABLE tutorial.
Extra parameters
After the data type of the column, you can add extra parameters, too. These are optional and mostly technical things but here I’ll highlight the three most important extra parameters:
NOT NULL: If you add this, you can’t addNULLvalues to the given column.UNIQUE: If you add this, you can’t add the same value to the column twice. This is especially important when you store unique user IDs, for instance.PRIMARY KEY: Practically speaking, this is a combination ofNOT NULLandUNIQUEbut it also has some technical advantages. (Let’s not get there yet, though.) You can have only onePRIMARY KEYcolumn per table.
If you haven’t deleted the previously created test_results table yet, do that now:
DROP TABLE test_results;
This deleted our table.
So we can re-create and extend it with a few additional extra parameters:
CREATE TABLE test_results
(
  name         TEXT,
  student_id   INTEGER   PRIMARY KEY,
  birth_date   DATE,
  test_result  DECIMAL   NOT NULL,
  grade        TEXT      NOT NULL,
  passed       BOOLEAN   NOT NULL
);
In this table, the student_id is a unique value that can’t be null (so I defined it as a PRIMARY KEY) and the test_result, grade and passed columns have to have values in them (so I defined them as NOT NULL).
Again the extra parameters are optional but if you use them when you create a new SQL table, you can spare a lot of headaches for yourself later. (E.g. UNIQUE won’t let you accidentally copy the same dataset into your data table twice.)
Conclusion
This is how to create tables in SQL. These were the basics that I think you have to know as a data analyst/scientist. For more advanced applications, check out the original PostgreSQL documentation.
And now, let’s continue with the How to import data into SQL tables article where I’ll show you three ways to populate the table we have created with data!
- If you want to learn more about how to become a data scientist, take my 50-minute video course: How to Become a Data Scientist. (It’s free!)
- Also check out my 6-week online course: The Junior Data Scientist’s First Month video course.
Cheers,
Tomi Mester
Cheers,
Tomi Mester