
In this article, I’ll answer a question that frequently comes up in my online courses, which is:
How do you upload a dataset (e.g. csv, txt or tsv raw data files) to a remote server?
It’s a simple question and the answer is also very simple. But I get this from time to time, so I assume that this is a common problem for people who just got started learning data science. And here’s the answer!
This article is available in video format, too!
Local computer to remote server
The issue is simple.
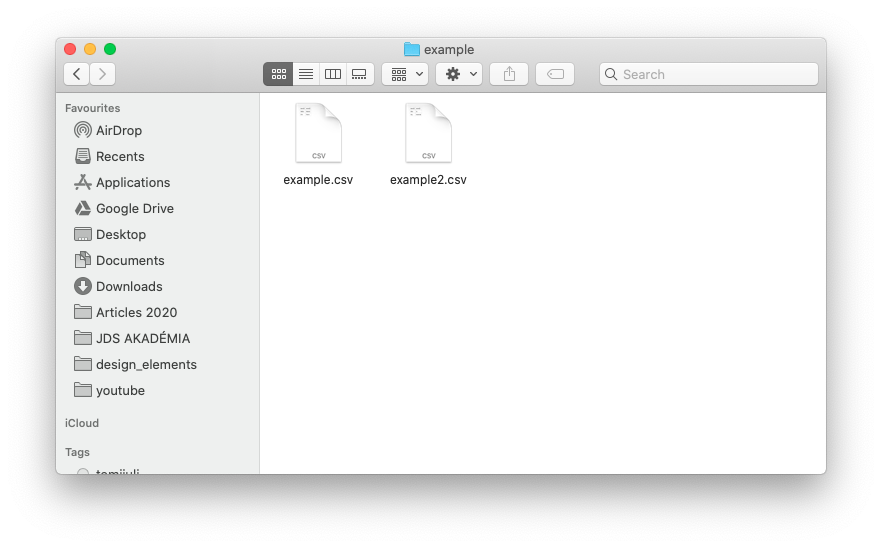
You have your local computer, where you have a dataset — take this example.csv or example2.csv file — and you want to upload this to your remote data server.
I’ll show you two solutions for this problem:
- in the first one, I’ll use the command line (which I call the painful solution)
- in the second one, I’ll use Jupyter, which is a web application that I mainly use to prototype my Python code — but it’ll be very handy for this file-upload-issue, too.
Now, if you don’t know what a remote data server is or you don’t know what Jupyter is, check out my remote server setup tutorial first. In that article, I show you how you can install Python and SQL step-by-step to learn and practice data science in a real-life-like environment.
But if you have these already, then just follow me.
Upload a dataset using the command line
Let’s see the painful solution first. In this article, I’ll show you a solution that works on Mac and Linux only. But you can do similar things on Windows using PuTTY.
Either way, you don’t have to worry about it because I show this to you only to demonstrate how painful it is — so you can better appreciate the second solution that will work on all operating systems anyway. 😉
As a first step, open a Terminal window.
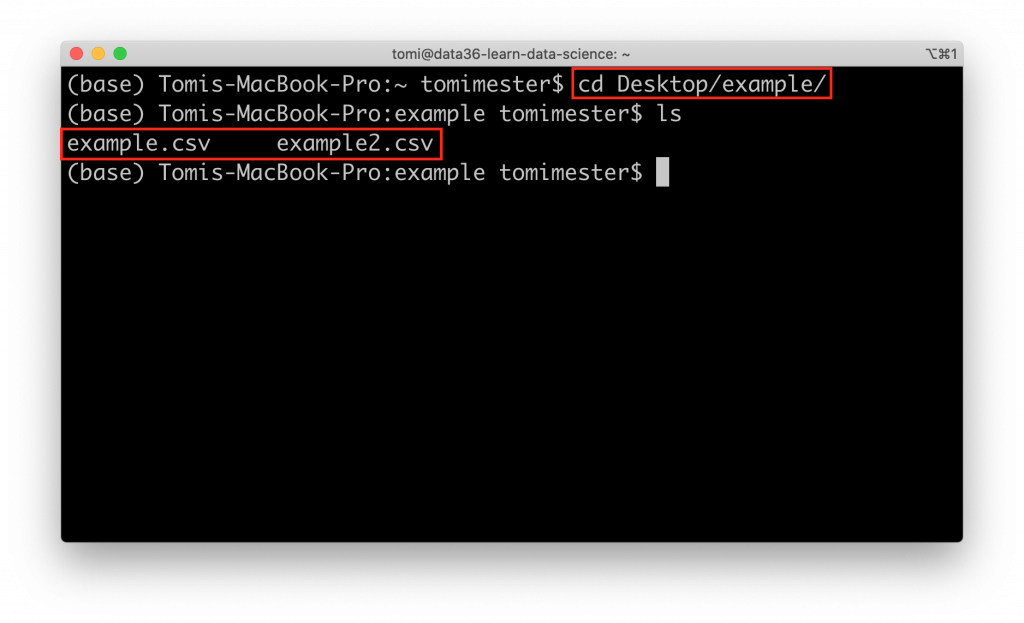
Right now, you are on your local computer. Go to the folder where you store your data file locally. For me, it’s
cd Desktop/example/
And here, I have example.csv and example2.csv.
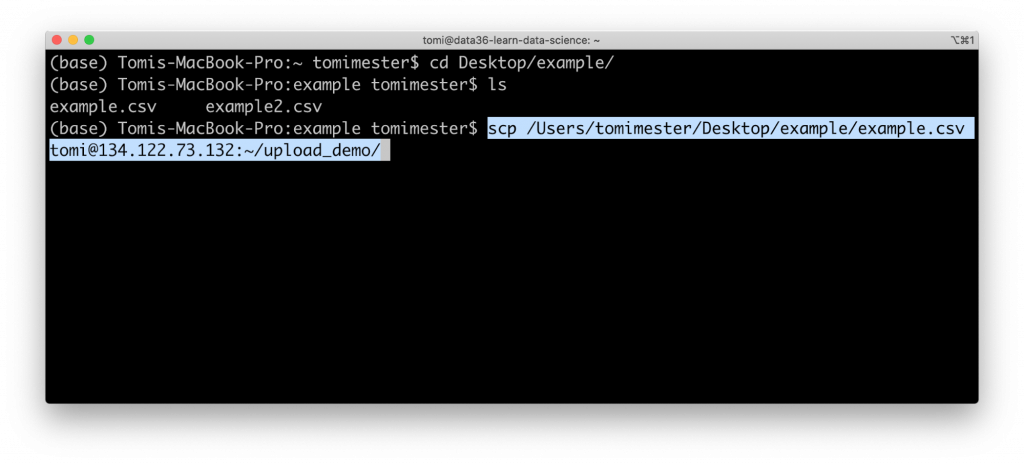
The next step is typing the actual command, which looks like this:
scp /Users/tomimester/Desktop/example/example.csv tomi@134.122.73.132:~/upload_demo/
Let’s break this down:
scpstands for secure copy protocol and it’s the copy command itself- then you type your file name (
example.csv) — preferably with the full path included (/Users/tomimester/Desktop/example/example.csv). Note: if you are already in the folder where your files are located, it’s fine to add just the file name without the full path. - The next step is to specify where we want to copy it to. You have to add the details of your remote server, more specifically the user name and the IP address (for me it was
tomi@134.122.73.132) then a colon and a tilde character (:~). These will specify that your file goes directly into your user’s folder on your remote server. And then you have to specify the exact folder you want to copy your file into (given that this folder exists on the server). For me, it’ll be theupload_demofolder that I created before.
So all in all, you need:
- the copy command
- the file you want to copy
- and the destination on your remote server
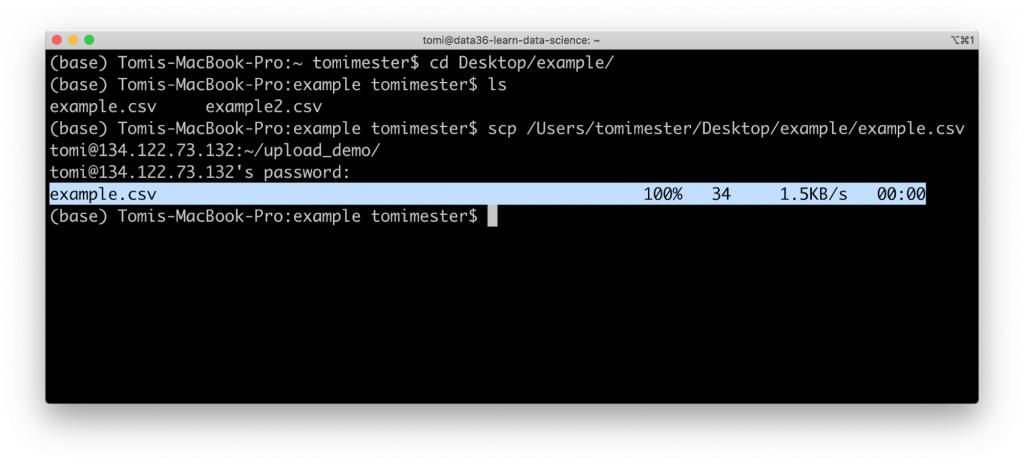
Hit enter, type your password — and boom: the example.csv file is uploaded!
Double-check your data file!
If you ssh to your server and go to the right folder, you’ll see that the file is there as it should be.
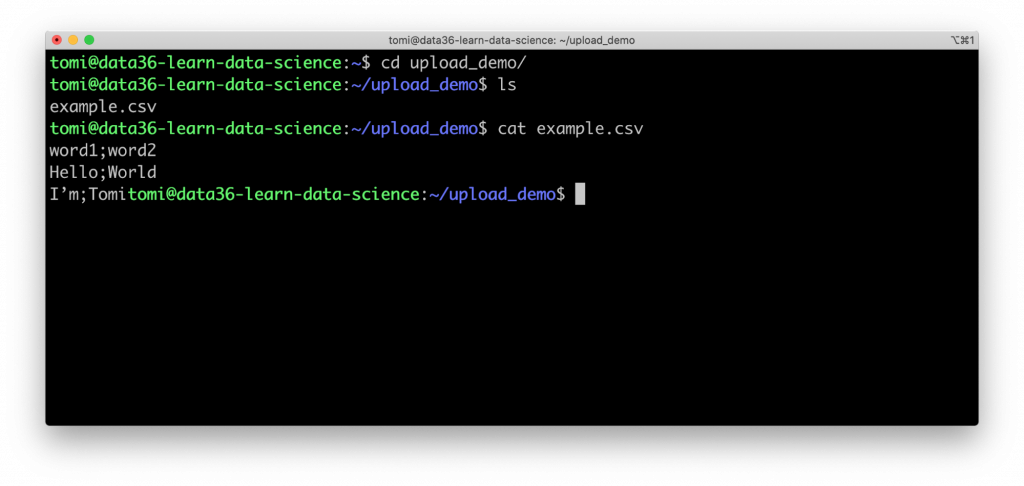
Well, this was only a small demo file — but you can upload bigger files, of course, using the scp command.
Anyways: from this point on, you can use your dataset for your projects that are done on your remote data server. Nice stuff!
Okay, so this is how you can upload a data file to your data server via the command line. (At least on Mac and Linux, but again: this can be done using PuTTY on windows.)
As I said, I find this process a bit painful, at least compared to the second solution, which is a point-and-click solution and also works on all operating systems.
Upload a dataset using Jupyter
For this second solution, you’ll need Jupyter installed to your remote server already.
I assume that you have this — as most people who learn data science and Python prefer to do that using Jupyter Notebooks. But if you don’t, check out the server setup tutorial I mentioned before.
Anyways, if you have Jupyter on your remote server, then, as a first step, open Terminal (or PuTTY) and log in to your server.
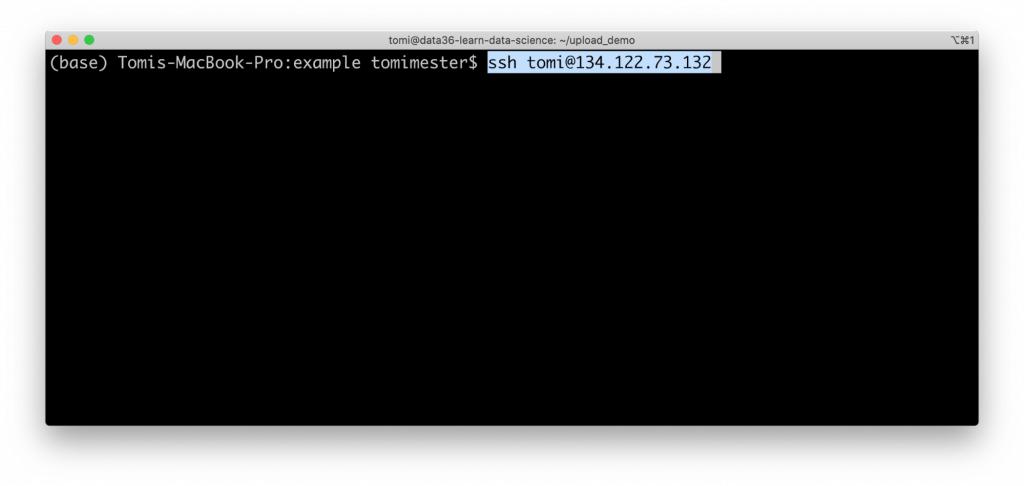
And once you are logged in, you can start Juptyer using the:
jupyter notebook --browser any
command.
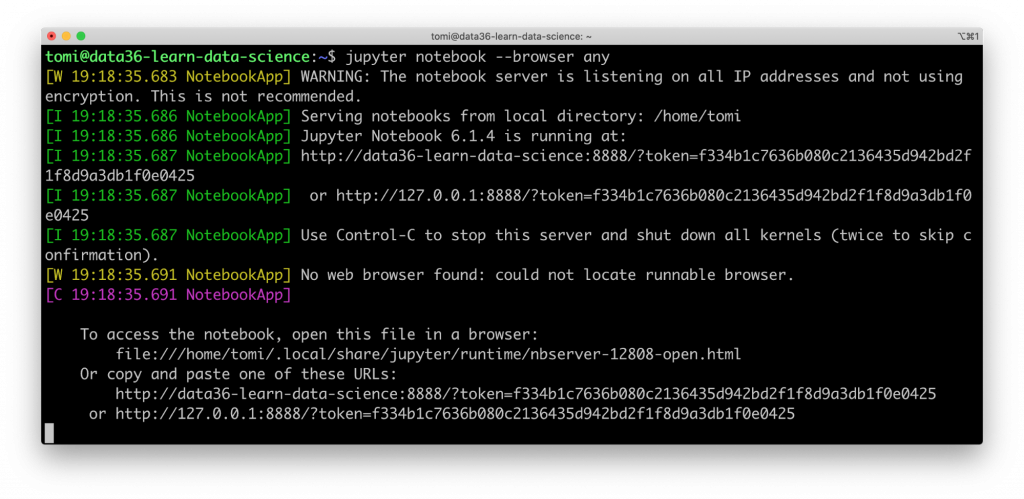
Once it’s running, go to a browser window (e.g. open a Google Chrome) and type [your server's IP]:8888. (Just as we do all the time when running a Jupyter notebook.)
For me it’s going to be:
134.122.73.132:8888
Note: You’ll also copy-paste your token from Terminal — or type your password if you have one already set up.
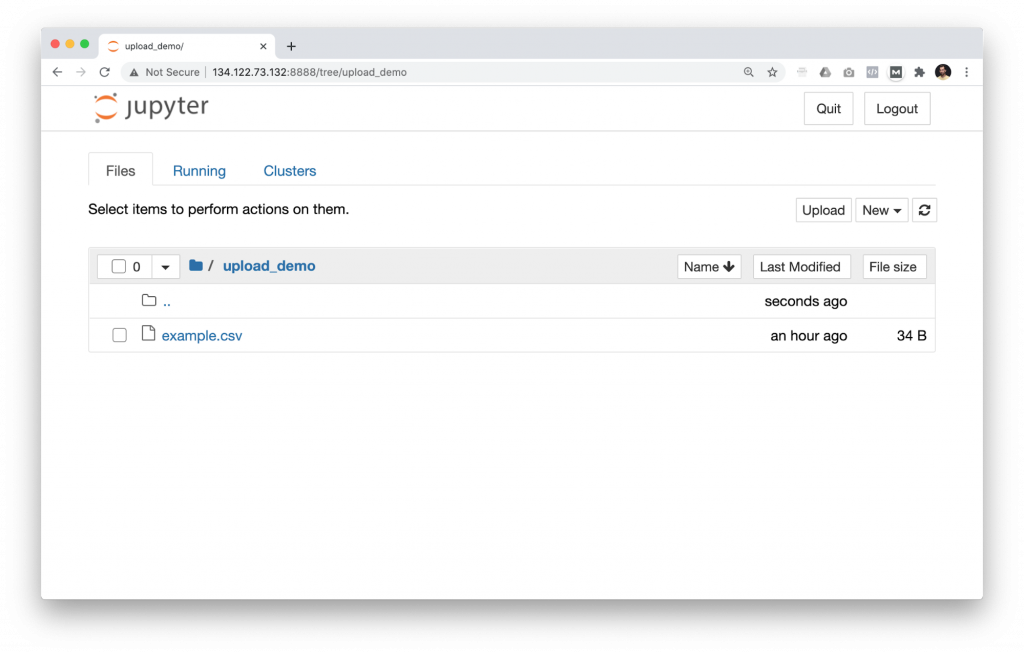
The good thing is that in Jupyter you can pretty much upload your file in the point-and-click way — because in the top right corner, there is an UPLOAD button. How convenient is that?
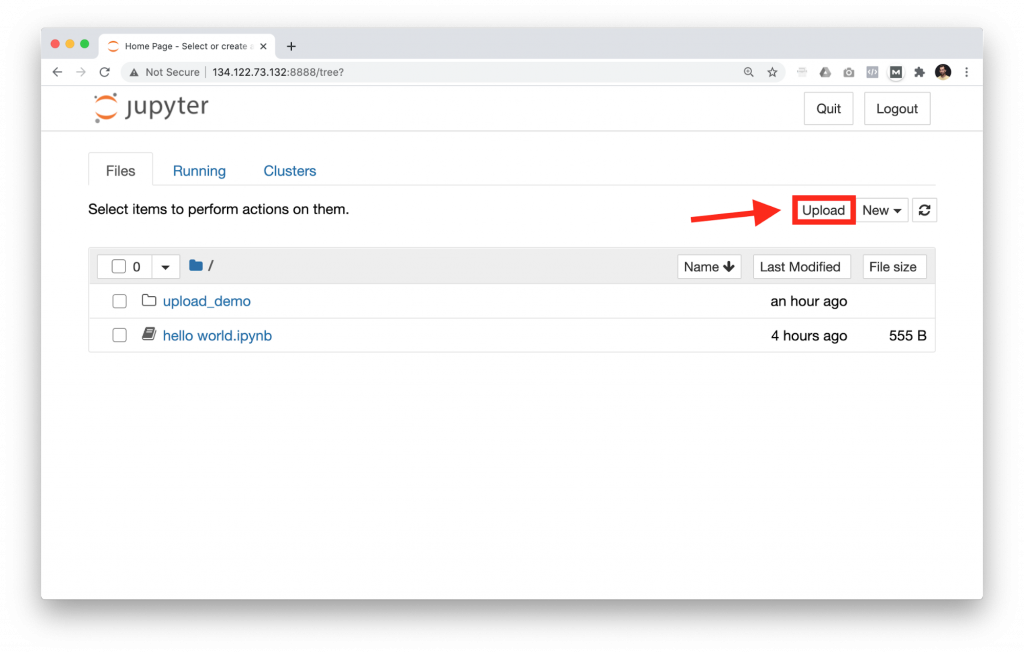
So just click to your folder called upload_demo.
Here, you’ll find the file that you’ve uploaded via the command line already.
And upload the example2.csv file by clicking the Upload button (in the top right corner), then select example2.csv in the window that pops up…
And then a new row shows up in your file list — just click Upload again to finalize the uploading process.

And there is your example2.csv dataset uploaded to your data server!

Very very simple, just as I promised!
Conclusion
Okay, that’s it, this is the simplest way to upload your datasets to a remote server… well, at least, if you are a data scientist using Jupyter.
If not, you can still take advantage of the first method and use scp — but again to be honest, I don’t really use that method any more, because the Jupyter one is much, much more convenient.
- If you want to learn more about how to become a data scientist, take my 50-minute video course: How to Become a Data Scientist. (It’s free!)
- Also check out my 6-week online course: The Junior Data Scientist’s First Month video course.
Cheers,
Tomi Mester
Cheers,
Tomi Mester